Installing Anyware Manager - Default Configuration
For the Anyware Manager installation, you should configure a repository to download and save configuration files, configure SELinux policies, and run the installation package. Anyware Manager can be installed and configured along with a default or an external database. This section outlines the default installation method for Anyware Manager.
Installation Time
The default configuration of Anyware Manager uses an internal Vault and MongoDB. It takes approximately 45 minutes to complete the installation.
Data Migration
Anyware Manager does not do any data migration when configuring your database and secret storage application. Any data stored when Anyware Manager is used with the default database and secret storage configuration is not transferred if the same Anyware Manager instance is re-configured to run with an external database and secret storage.
Firewall and Load Balancing Considerations
For information on firewall and load balancing ports connected to Anyware Manager and Connector, see Firewall and Load Balancing Considerations
Installing Anyware Manager
The following section outlines how to install Anyware Manager with the default database and secret storage. These steps should be performed on the target machine by connecting via SSH or console.
Before you begin
Follow the prerequisite steps in the Anyware Manager System Requirements section to prepare your target machine. It is important to read and address all the prerequisites outlined. Once you have completed these steps and prepared the target machine, return to this page and continue with the installation.
1. Add Anyware Manager Repository
The virtual machine you are adding the repo to must have access to the internet to be able to download and install the required files.
Anyware Manager Repositories
The new repository teradici-anyware-manager is introduced. If you currently have teradici-cas-manager repository, you must remove it. See Repository Management to remove them. Once the unwanted repos are removed, you can proceed with the installation process below.
To access the scripts and to configure and add the RHEL and Rocky Linux repository, select the Downloads and scripts option from the
Anyware Manager support site.

If you see a login button instead, click it to log into the site and then proceed.
Accept the End User License Agreement, then click Set Up Repository.

The window expands and displays the setup scripts for each supported operating system. Copy the command for your system to the clipboard.
Paste command on the target machine where you wish to install Anyware Manager and press Enter.
The command fetches a configuration script from our servers and runs it locally, setting up and configuring the repository on the local machine.
Run the following command to confirm teradici-anyware-manager repos were added into dnf repo.
dnf repolist --enabled teradici-anyware-manager*
The output from this command should list the repo id, names as outlined in the example below:
repo id                                             repo name
teradici-anyware-manager-beta                       teradici-anyware-manager-beta
teradici-anyware-manager-beta-noarch                teradici-anyware-manager-beta-noarch
teradici-anyware-manager-beta-source                teradici-anyware-manager-beta-source
2. SELinux Configuration
SELinux policies are required for persistent storage and container logging on Anyware Manager. If SELinux policies are not found, data stored in Anyware Manager is lost when the Anyware Manager Machine is shut down.
Once configured, and the installation has verified SELinux, all Anyware Manager related data persists when the target machine hosting Anyware Manager is re-booted. To check if SELinux is already installed on your system, run the following command:
sudo dnf list installed | grep anyware-manager-selinux
The output from this command notifies if you if selinux is already running on your system. If it is not then you need to run the following commands to install the SELinux policies:
Run the following command to install the SELinux policies and set the basic framework for persistent database and Vault:
Run the following command to install a specific version of SELinux that has been tested for K3s:
Run the following command to install SELinux from the Anyware Manager repo:
Install Command Alias
The older command sudo dnf install -y cas-manager works as an alias for Anyware Manager installation.
3. Install Anyware Manager
Installation Commands Updated
Anyware Manager installation requires two commands comparing to previous version where only one command is required. If you have automated the installation in scripting, make sure the script is updated accordingly.
Run the following command to install Anyware Manager RPM:
sudo dnf install -y anyware-manager
The installer installs Anyware Manager, as well as all external components required.
These external components are:
- k3s
- MongoDB (data store)
- Vault (secret store from HashiCorp)
- A self-signed SSL certificate for HTTPS access
Run the following command to install Anyware Manager with the appropriate flags suits your needs, see "Installation Flags and Options" for all supported flags. The command example below installs Anyware Manager with self-signed certificate from teradici-anyware-manager* repo added in the pervious steps. Debug level log is displayed to help troubleshooting.:
sudo /usr/local/bin/anyware-manager install --accept-policies --self-signed --debug
Password Configuration
You need to configure a password to install Anyware Manager instance on your system. The password adds a layer of protection to the system and is required when accessing the Web Admin Console. To meet the security standards, the password should be 8 characters in length with minimum 1 uppercase, 1 lowercase, 1 number and 1 special character.
Password Special Character
The % character and whitespaces are not supported.
Anyware manager installer requires Web Admin password and prompts for it, if this behavior is not preferred the password could be passed to the install command using:
--manager-admin-password
In case you forget the password, you can reset it using the following flag with the configure command:
--reset-admin-password
Password File
The /opt/teradici/casm/temp-creds.txt file that has the ability to store Anyware Manager password is not created any more by the installer. If you forget your password, you need to reset it using the --reset-admin-password flag.
Installation Flags and Options
For detailed information on the installation flags and the configuration file parameters that you can pass during installation, see the table outlined below:
| Flags | Example | Description |
|---|---|---|
--accept-policies |
sudo /usr/local/bin/anyware-manager install --accept-policies | If this flag is set, the installer does not prompt for accepting policies. This flag is optional |
--clear |
sudo /usr/local/bin/anyware-manager install --clear | This flag Removes data and files of an existing or previous Anyware Manager instance. |
--manifest |
sudo /usr/local/bin/anyware-manager install --manifest | This flag is set to provide a path for manifest files. This flag is optional. |
--self-signed |
sudo /usr/local/bin/anyware-manager install --self-signed | This flag is set to Automatically generate self-signed TLS cert and key. Setting this flag ignores --tls-key and --tls-cert flags. |
--tls-key |
sudo /usr/local/bin/anyware-manager install --tls-key | If this flag is set, it requires the full path and filename of the TLS key to use with the Anyware Manager. |
--tls-cert |
sudo /usr/local/bin/anyware-manager install --tls-cert | If this flag is set,it requires the full path and filename of the TLS certificate to use Anyware Manager. |
--registry |
sudo /usr/local/bin/anyware-manager install --registry | This flag is used to specify the container registry from which the Anyware Manager pulls container images. |
--registry-username |
sudo /usr/local/bin/anyware-manager install --registry-username | This flag is used to authenticate Anyware Manager username to the registery and to pull container images. |
--registry-password |
sudo /usr/local/bin/anyware-manager install --registry-password | This flag is used to authenticate Anyware Manager password to the registry to pull container images. |
--manager-admin-password |
sudo /usr/local/bin/anyware-manager install --manager-admin-password | This flag is used to create a new password for Anyware Manager during installation. |
--reset-admin-password |
sudo /usr/local/bin/anyware-manager configure --reset-admin-password | This flag is used to reset the password for Anyware Manager. |
sudo dnf install -y anyware-manager-selinux
sudo dnf install -y https://github.com/k3s-io/k3s-selinux/releases/download/v1.1.stable.1/k3s-selinux-1.1-1.el8.noarch.rpm
sudo dnf install -y selinux-policy-base container-selinux
Vault Data Encryption
The Vault data that is installed as part of the Anyware Manager installation, is installed on the Anyware Manager virtual machine, and is encrypted at rest. It is recommended that you take appropriate measures to secure access to the filesystem. For information on this, see the Filesystem Storage Backend section of the HashiCorp Vault guide.
The installation process takes 5-10 minutes to complete, depending on your network connection speed and other environment variables. During this process, Anyware Manager is running a health check every 15 seconds to confirm that all required services are deployed and running successfully before reporting that the installation is complete.
Once the installation has been successful you should see a message stating Anyware Manager installation complete. The IP address and the version of your Anyware Manager instance isdisplayed.
If the installation appears unhealthy, you should generate a support bundle and send this to HP for investigation. For more information on generating a support bundle, see Support Bundle. For more information on monitoring and assessing the health status of Anyware Manager, see Health Status.
Generated Self-Signed Certificates
The installer automatically generates several certificates to ensure that internal communication within the Anyware Manager and communication to the Anyware Manager itself are done over encrypted TLS connections. These certificates are automatically generated as needed when Anyware Manager is initially installed or when upgrades are done. If you do not wish to upgrade, certificates must be periodically renewed, see TLS Certificates for steps on how to do this.
4. Configure Anyware Manager to use Proxy
The following section outlines the steps involved in enabling the proxy configuration with Anyware Manager:
- If the proxy environment variables were not set before installing Anyware Manager, please see the Proxy Configuration Variables section above for the steps involved in setting these variables. If you already have these variables set, continue to step 2.
- Establish a new ssh/shell session.
-
Configure Anyware Manager to use the proxy configuration by running the following command:
sudo /usr/local/bin/anyware-manager configure -–enable-proxy
5. Access the Admin Console
The following section outlines how to access and unlock the Anyware Manager Admin Console.
-
Open a web browser and go to https://{ip-address-or-dns-name-of-anyware-manager}. This is the IP address of the target machine where Anyware Manager is installed.
-
When presented with the Anyware Manager Login page, use the following credentials to begin using Anyware Manager:
username: adminUser
password: The password that is configured during Anyware Manager installation.
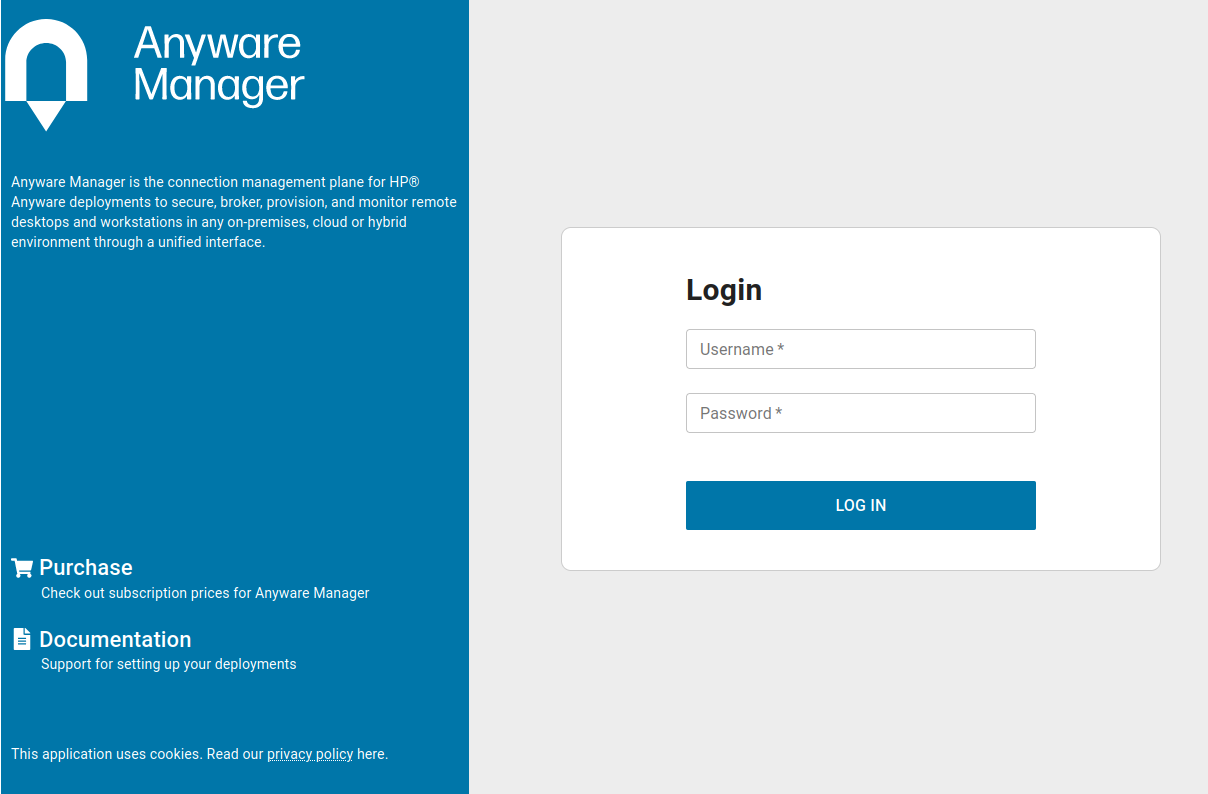
-
Click Login.
You are now able to use Anyware Manager as the adminUser user.
To unlock the Admin Console enter your Anyware Software registration code into the Unlock dialog that appears when you first log-in. Anyware Manager verifies the registration code and then create a new deployment on your behalf. For further information on using the Admin Console, see Admin Console.
6. Anyware Manager dnf Repo Management
By default, Anyware Manager installs any updates that are available, when you update all managed packages with the following command:
dnf upgrade anyware-manager
or
dnf update anyware-manager
This system wide update includes any new Anyware Manager version updates. If you do not want this system wide update, the Anyware Manager repo(s) should be disabled once installation is complete.
Locking Anyware Manager version in the dnf repo
The following section outlines how to lock the Anyware Manager in the dnf repo:
- Run this command:
sudo dnf config-manager --set-disabled teradici-anyware-manager*. - To confim the settings, run this command:
dnf repolist teradici-anyware-manager*.
The output from this command should list the repo id, names and their status, as outlined in the example below:
repo id                                         repo name                                       status
teradici-anyware-manager                            teradici-anyware-manager                            disabled
teradici-anyware-manager-noarch                     teradici-anyware-manager-noarch                     disabled
teradici-anyware-manager-source                     teradici-anyware-manager-source                     disabled
Installing the Anyware Connector
Once you have installed the Anyware Manager you can install Anyware Connector(s) by following the instructions outlined in the Installing the Connector section.