Troubleshooting Anyware Monitor
In the event that there is an issue with the Anyware Monitor, the following rectification steps may be useful to help fix the issue. Some of the known issues with the Anyware Monitor are:
Registration Fails after installation or Monitor Fails to start after installation
Occasionally the network may fail during registration process or it is possible that the authorization token that the script carries has expired. If the registration fails and the token is less than one hour old, run the install script again.
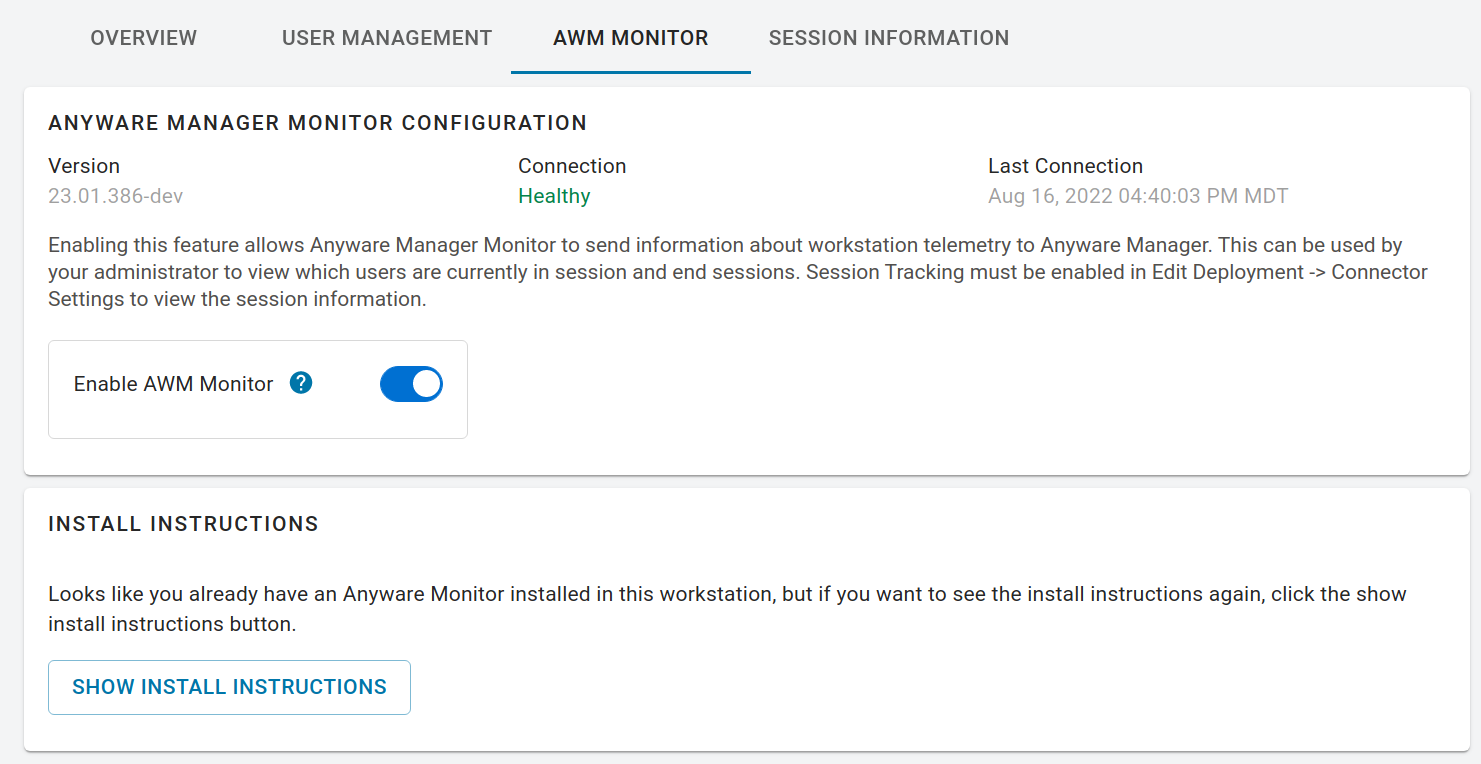
If the registration fails and the token is more than one hour old, generate a new script command with a refreshed token by navigating to the Workstation's Anyware Monitor tab and select Show Install Instructions for a refreshed command and try again.
Workstation is unexpectedly marked as Unhealthy
Restart the service using your operating system service tool:
- On Windows, click on the Start Menu and type
services.mscto open the Windows Services list. Navigate to the HP Anyware Monitor service, select and restart it using the left pane menu. - On Linux®, open a terminal and run the command:
systemctl restart awm-monitor.
Notifications do not appear in a workstation as expected
Ensure that your machine has PCoIP Agent installed on it:
- On Windows, ensure that notifications are enabled. For more information, see Enabling notifications on Windows 10 and 11.
- On Linux, ensure that you have it configured to not use Wayland display server. For more information, see Manual Notifications.
There is a known issue in Linux machines where notifications may not be displayed to the user. While most supported Linux desktop configurations are expected to work, there are rare instances where the system is unable to identify the user's desktop session id required to issue a notification.
In this case, a default location is used. If a Linux system is not showing notifications, the log may state "Using default dbus address". This location is not guaranteed to be present either, resulting in the system incapable of rendering a notification.
Enabling notifications on Windows 10 and 11
You can enable notifications by performing the following steps:
-
Navigate to Start menu and click Settings.
-
Click the System tab and select Notifications & actions.
-
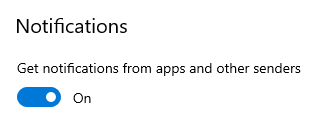
Enable the Notifications toggle.
You can also enable notifications by editing Windows Registration using a PowerShell Command and restarting the workstation.
Run the following command:
Set-ItemProperty -Path "HKCU:\Software\Microsoft\Windows\CurrentVersion\PushNotifications" -Name "ToastEnabled" -Type DWord -Value 1
These actions only enable notifications for the current user. This can be further automated to apply the setting for multiple users.
Bulk Enrollment Failures
Running the command outputs a TLS/SSL error
- Check the configuration of certificates on the machines, or disable the certificate validation toggle for the bulk provisioning command and run again.
Enrollment Fails with exit error code of 1
- The console should output error messages that can help determine the root cause. When in doubt, generating a new command and trying again should help to resolve the issue.
Enrollment fails with error: "The Anyware Monitor was unable to detect a hostname or IP address required for Bulk Enrollment."
-
Bulk Enrollment requires a hostname or IP address. The system will try to detect this. In the rare event that the system cannot detect a hostname or IP address, one of the following options is recommended:
- Ensure that the machine's hostname is configured properly.
- Register this machine independently. For more information, see Installing/Uninstalling Anyware Monitor.
After Adding or Linking the machine, the machine does not show as Healthy after some time
- The Monitor tries to proceed with registration when you choose the ADD or LINK option for a machine during installation. If there is a temporary network issue, the message may not be received or there may be an issue with registration. To help determine root cause, inspect the Monitor logs. For more information, see Anyware Monitor Logs.
Creating a Golden Image on a dark site
The procedure outlined in Anyware Monitor Golden Image Installation requires access to public internet to reach anyware.azureedge.net.
If you need to create a golden image on a dark site, you need to replace the first step with the following steps:
- Follow steps 1-6 in Anyware Monitor Bulk Installation to get the provisioning command.
-
This command must be edited to add a skip_registration flag to limit the command to only download and install the Monitor. Edit your command by adding the skip registration flag, just after the token string like the examples below. You may also remove the token and manager_uri parameters as they are not required for install.
Windows
powershell.exe -noexit ". { Invoke-WebRequest -useb https://manager.fqdn.here/awm_monitor/latest/awm_monitor_install.ps1 } | Invoke-Expression; install -skip_registration 1 -mode enroll;exit"Linux
curl -1sLfS https://manager.fqdn.here/awm_monitor/latest/awm_monitor_install.sh | sudo -E skip_registration=true mode=enroll bashYour commands may look different if you choose to disable TLS validation when generating your command.
-
Run the commands with administrator privileges. This runs a script to download the appropriate installers to your golden image and installs the Monitor on your machine.
Anyware Monitor Logs
For information and diagnostic purposes, Anyware Monitor records logs internally to a file.
-
In the affected Workstation, navigate to the folder where HP Anyware Monitor is installed:
- On Windows (by default):
%PROGRAMFILES%\HP\Anyware Manager Monitor - On Linux:
/opt/awm-monitor
- On Windows (by default):
-
Open the file log4net.config using a Text Editor.
- Change the line <level value="INFO"> to <level value="DEBUG">.
- Save the changes you have made to the file.
-
Restart the HP Anyware Monitor service:
- On Windows, click on the Start Menu and type
services.mscto open the Windows Services list. Scroll down to the HP Anyware Monitor service, click on it and restart using the left side menu. - On Linux®, open a terminal and run the command:
systemctl restart awm-monitor
- On Windows, click on the Start Menu and type
-
Reproduce the issue that you are facing.
- Navigate to the following folder to view the content of the log file:
- On Windows:
%PROGRAMDATA%\HP\Anyware Manager Monitor - On Linux®:
/var/log/awm-monitor
- On Windows:
Viewing Log content on Linux
On Linux, the log content can also be viewed realtime by running the command sudo journalctl -u awm-monitor -f.