The MC lets you create rules to automatically move endpoints into a specific MC group when they are first discovered. After discovery, you can find the endpoints in the GROUPED table on the ENDPOINTS page.
The AUTO CONFIGURATION page contains a table showing all the auto configuration rules that are currently configured. You can create a new rule from this page, or you can select a rule from the table to view, edit, or delete it. The ON/OFF switch at the top of the page lets you globally enable or disable all rules at once.
Click the gear icon ![]() to the right of the table to change the information you want to display in the table columns. Your customized settings are saved in your browser and will be used for any user who subsequently logs in from that browser.
to the right of the table to change the information you want to display in the table columns. Your customized settings are saved in your browser and will be used for any user who subsequently logs in from that browser.
Important: The AUTO CONFIGURATION page has a global auto configuration ON/OFF switch that is located above the table, as shown below. Auto configuration rules become active when this switch is set to ON. However, the rules are only applied to endpoints when the devices are first discovered. If the global auto configuration setting is switched on after discovery, your rules will have no effect. For this reason, it is important to set up your rules before enabling discovery of the endpoints to which the rules would apply.
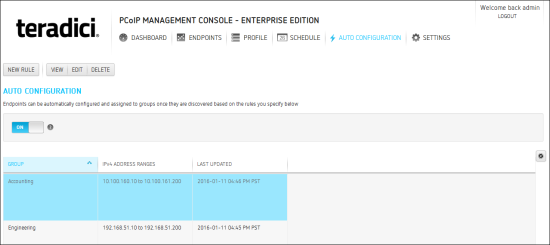
Figure 5-5: AUTO CONFIGURATION Page
Note: Click the ? beside each field for help with any of the settings.
Note: The Example Name field at the bottom of the page displays the endpoint name format based on your global naming convention.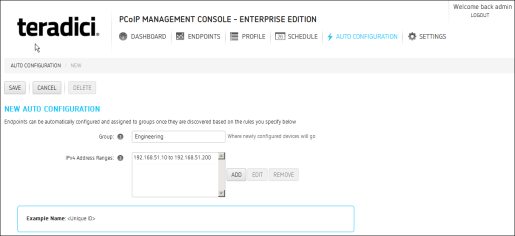
Note: The MC will prevent you from creating overlapping or conflicting rules. You will be required to resolve any problems before the rule can be created.
