Windows and Application Optimizations
Teradici recommends the following Windows and application optimizations for the preceding sample profiles.
Windows Performance Options Optimization
For Virtual Desktop Infrastructure (VDI) use case in which high-server consolidation ratio's are advantageous, Microsoft offers a host of suggested Windows 10 optimizations: https://docs.microsoft.com/en-us/windows-server/remote/remote-desktop-services/rds-vdi-recommendations
Furthermore, third parties such as Login VSI, provide tools and guidelines for additional Windows 10 optimizations: https://www.loginvsi.com/blog/520-the-ultimate-windows-10-tuning-template-for-any-vdi-environment
Optimizations related to Windows 10 Visual Effects
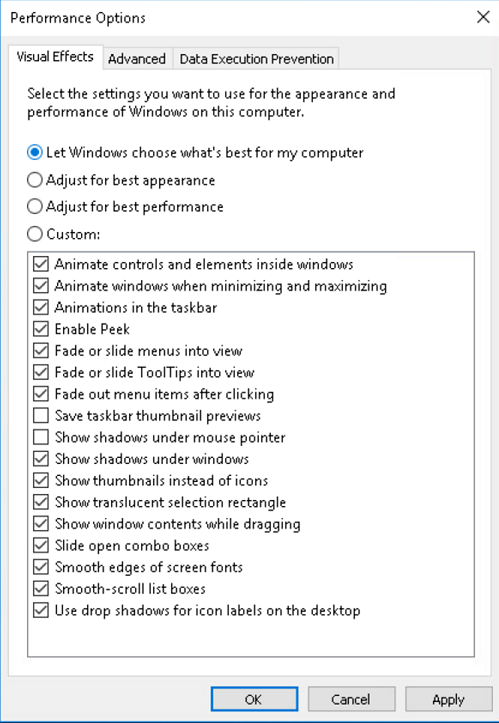
The performance Options dialog is accessible from Control Panel>System and Security>System>Advanced System Settings. For profiles C, D and E, Teradici recommends that you disable the ‘Show window contents while dragging’ policy. Additional performance optimizations are gained by adjusting Windows Visual Effects for best performance as described below.
Adobe Reader Optimization
For Adobe Reader, go to Edit>Preferences>Page Display and set the Smooth Text setting to For Monitor, as shown below

Adobe Premiere Optimizations
If Adobe Premiere is experiencing unusual lag or problematic audio/video synchronization behavior, you can adjust Windows for best performance from Control Panel>System>Adjust the Appearance and Performance of Windows>Adjust for best performance.
Improving Performance on Windows Remote Desktops
Teradici recommends making updates to the following settings to improve performance for Windows 10 desktops:
- Visual Effects
- Verify Processor Scheduling
- System Page File
The steps involved in configuring these settings are outlined in the section below. Please ensure you save any work, and close all programs before making these changes.
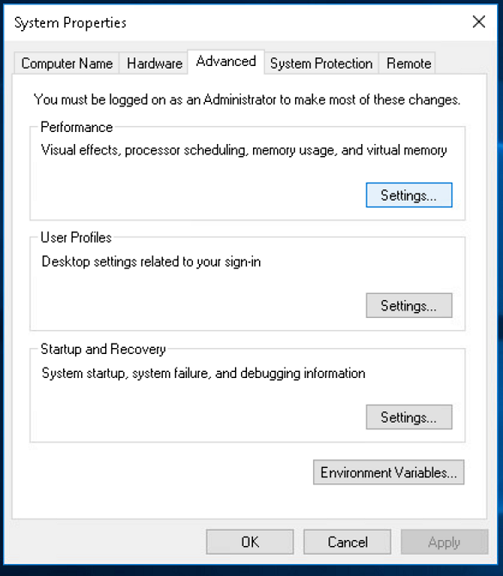
- Navigate to View advance system settings within the Windows system Control panel.
- From the Performance box within the Advanced tab, select Settings.
- From the Performance Options page select Adjust for best performance and click Apply.
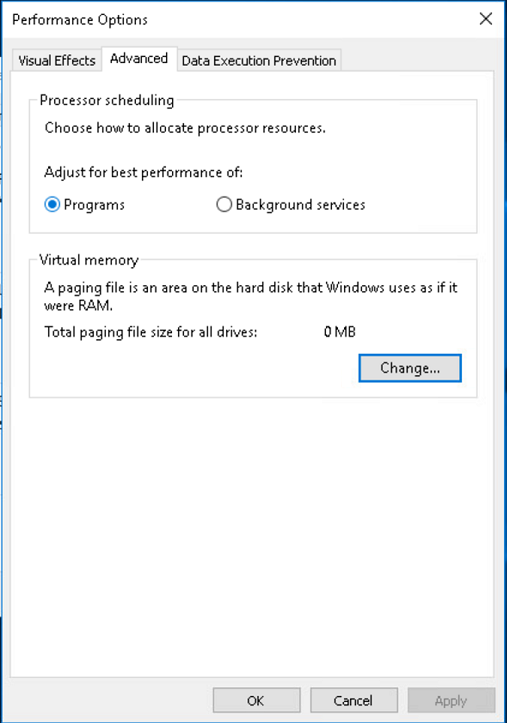
- From the Performance Options page select the Advanced tab and click Programs is selected within the Processor scheduling box.
- From the Virtual memory box select Change to display the Virtual Memory panel.
- From the Virtual Memory panel, uncheck the option to Automatically manage paging file size for all drives.
- Select No paging file from the Virtual Memory panel, as outlined in the image below.
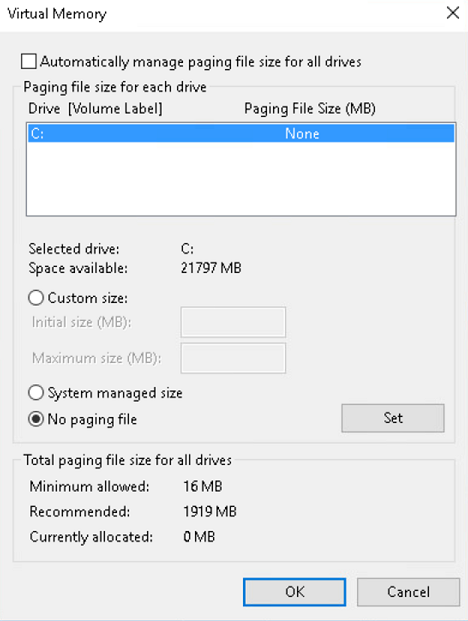
- From the Virtual Memory panel, click Set.
- You will see a System Properties warning, click Yes.
- From the Virtual Memory panel, click OK.
- You will see another System Properties warning, click OK.
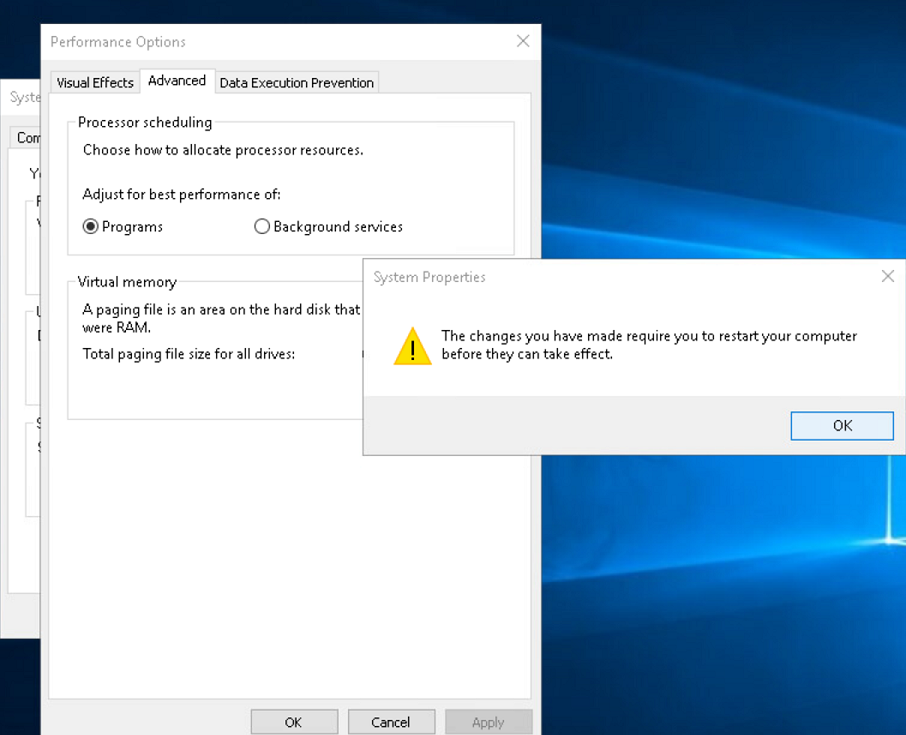
- Return to the Performance Options page and to the Advanced tab and click Apply and then OK.
- You will need to restart your system for these changes to take effect.