Configuring Display Override Settings
Under normal operation, the GPU in the host computer queries a monitor attached to the PCoIP Zero Client to determine the monitor’s capabilities. These are reported in the Extended Display Identification Data (EDID) information. In some situations, a monitor may be connected to a client in a way that prevents the client from reading the EDID information, such as when connecting through certain devices, such as keyboards and mice. You can configure the Enable Attached Display Override feature to enable the client to advertise default EDID information to the host's processor.
You can configure display override settings for a dual monitor or quad monitor setup.
| Setting | Default | AWI | OSD | Management Console |
|---|---|---|---|---|
| Enable Attached Display Override | ||||
| Enable Preferred Resolution Override | ||||
| Enable Display Cloning1 | (TERA2321) |
(TERA2321) |
Setting not available
Display Cloning is not a supported feature on PCoIP Zero Client quad models (TERA2140).
From the OSD Display page, you can enable the Extended Display Identification Data (EDID) override mode for a setup with two or four attached displays.
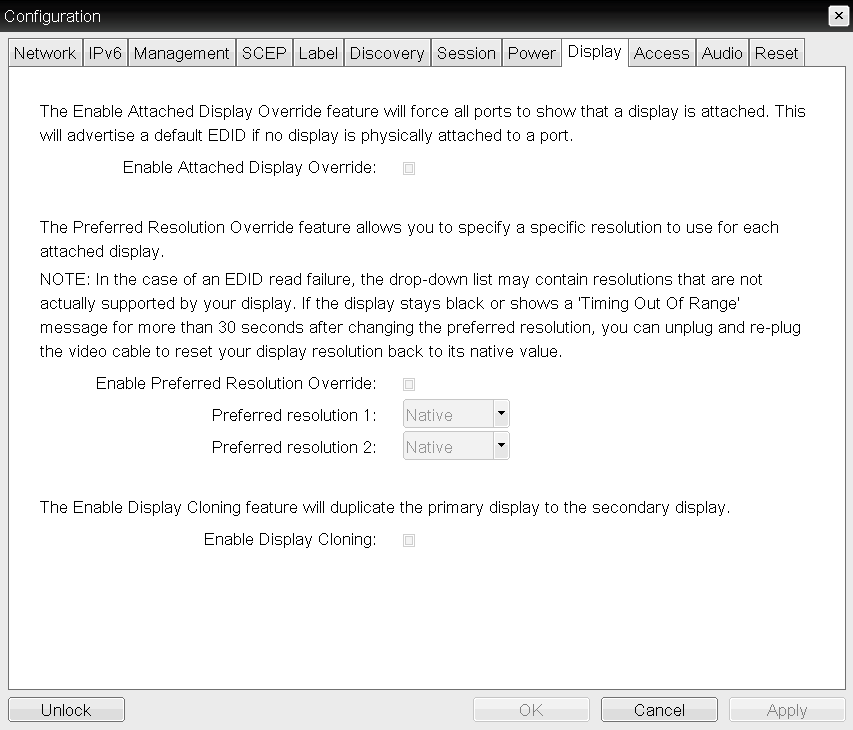
TERA232 OSD Display page (dual display models)
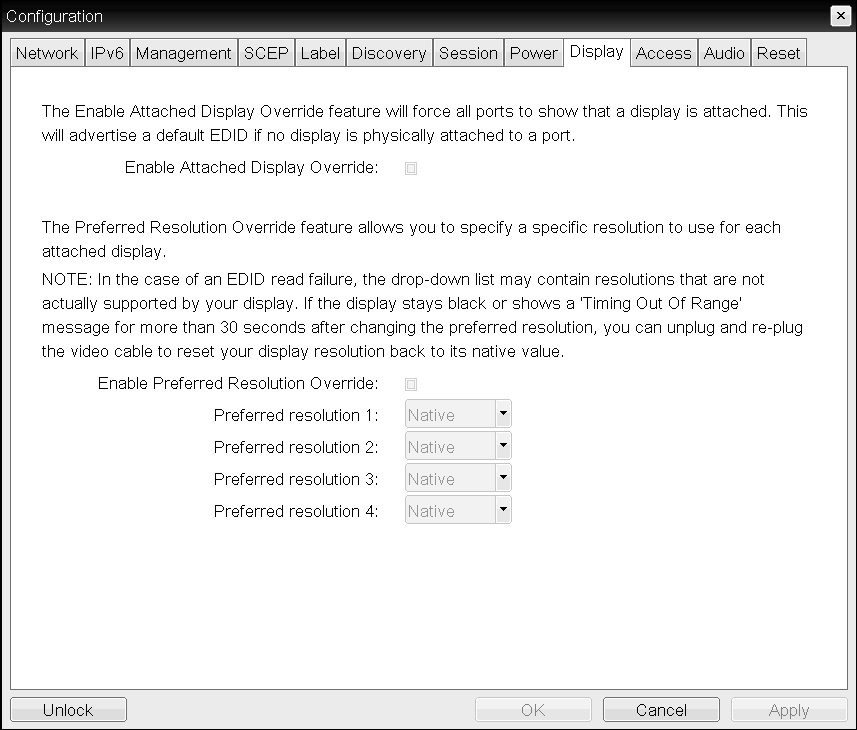
TERA2140 OSD Display page (quad display models)
Activate the Enable Attached Display Override feature when there is no valid EDID information
Only activate the Enable Attached Display Override feature when there is no valid EDID information and your monitor display characteristics are understood. In the case of an EDID read failure, the list may contain resolutions that are not actually supported by your display. If the Enable Attached Display Override feature is not enabled, and the display stays black or shows a Timing Out of Range message for more than 30 seconds after you activate Enable Preferred Resolution Override: and set a Preferred resolution, you can unplug and re-plug the video cable to reset your display resolution back to its previous value (that is, perform a hot plug reset).
Performing a hot plug reset won't revert the display for a custom resolution
If you have set a custom resolution, performing a hot plug reset will not cause the display to revert to its previous resolution if both Enable Attached Display Override and Enable Preferred Resolution Override are activated at the same time. If you want to retain your custom resolution in the event of a hot plug (or power outage, and so on), ensure that both these fields are activated.
The following parameters display on the OSD Display page:
Display Parameters
| Parameter | Description |
|---|---|
| Enable Attached Display Override | This option is intended for legacy systems. It configures the Tera2 PCoIP Zero Client to send default EDID information to the host when a monitor cannot be detected or is not attached to the client. For Windows versions earlier than Windows 7, if the host didn't have EDID information, it would assume no monitors were attached. This option ensures that the host always has EDID information when the client is in a session. The following default resolutions are advertised when this option is enabled:
|
| Enable Preferred Resolution Override | Enable this option when a display is attached but can't be detected by the system, and you want to specify a preferred resolution for the display. The same default list of resolutions listed for the Enable Attached Display Override will be advertised, except that the display resolution you configure here will be sent as the native resolution, instead of the default native resolution of 1024x768.
Caution: Performing a hot plug reset will not cause the display to revert to previous resolution. If you have set a custom resolution, performing a hot plug reset will not cause the display to revert to its previous resolution if both Enable Attached Display Override and Enable Preferred Resolution Override are enabled at the same time. If you want to retain your custom resolution in the event of a hot plug (or power outage, and so on), ensure that both these fields are enabled. |
| Enable Display Cloning1 (TERA2321 only) |
Enable the display cloning option if you want the secondary display to mirror the primary display—for example, for digital signage or trainings. |
Black screens when connecting a PCoIP Zero Client to a Remote Workstation Card
If you are connecting a TERA2321 PCoIP Zero Client to a remote workstation that does not have the Remote Workstation Card Software installed and the host driver function enabled, and you are using monitor emulation on the remote workstation, you may experience black screens on the cloned displays. To remedy the problem, you can either install and enable the Remote Workstation Card Software, or you can disable monitor emulation on the video port for the secondary display only.
To configure display override settings:
- From the OSD, select Options > Configuration > Display.
- From the Display page, update the display settings.
- To save your updates click OK.