Workstation Profiles
Workstation profiles logically group remote workstation provisioning information. Profiles define a set of workstation deployment settings that will be shared by any workstation deployed from this profile. This feature enables administrators to streamline deploying workstations and improves the experience of deploying a large number of identical remote workstations.
Creating a Workstation Profile
The following steps outlines how to create a workstation profile from the Admin Console. Once you have created a workstation profile, you can use it to deploy a remote workstation.
- Click on Workstation Profiles from the Admin Console sidebar.
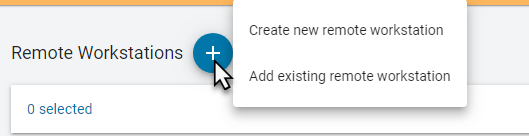
- Click the + icon to create a new workstation profile.
- Enter a unique name for the workstation profile.
- Select the cloud provider you wish to use. Currently Azure and GCP are supported.
- Select a remote workstaion template. The remote workstation template defines the base OS and provisioning steps for the remote workstation you will deploy. The only required field is the Resource template ID parameter.
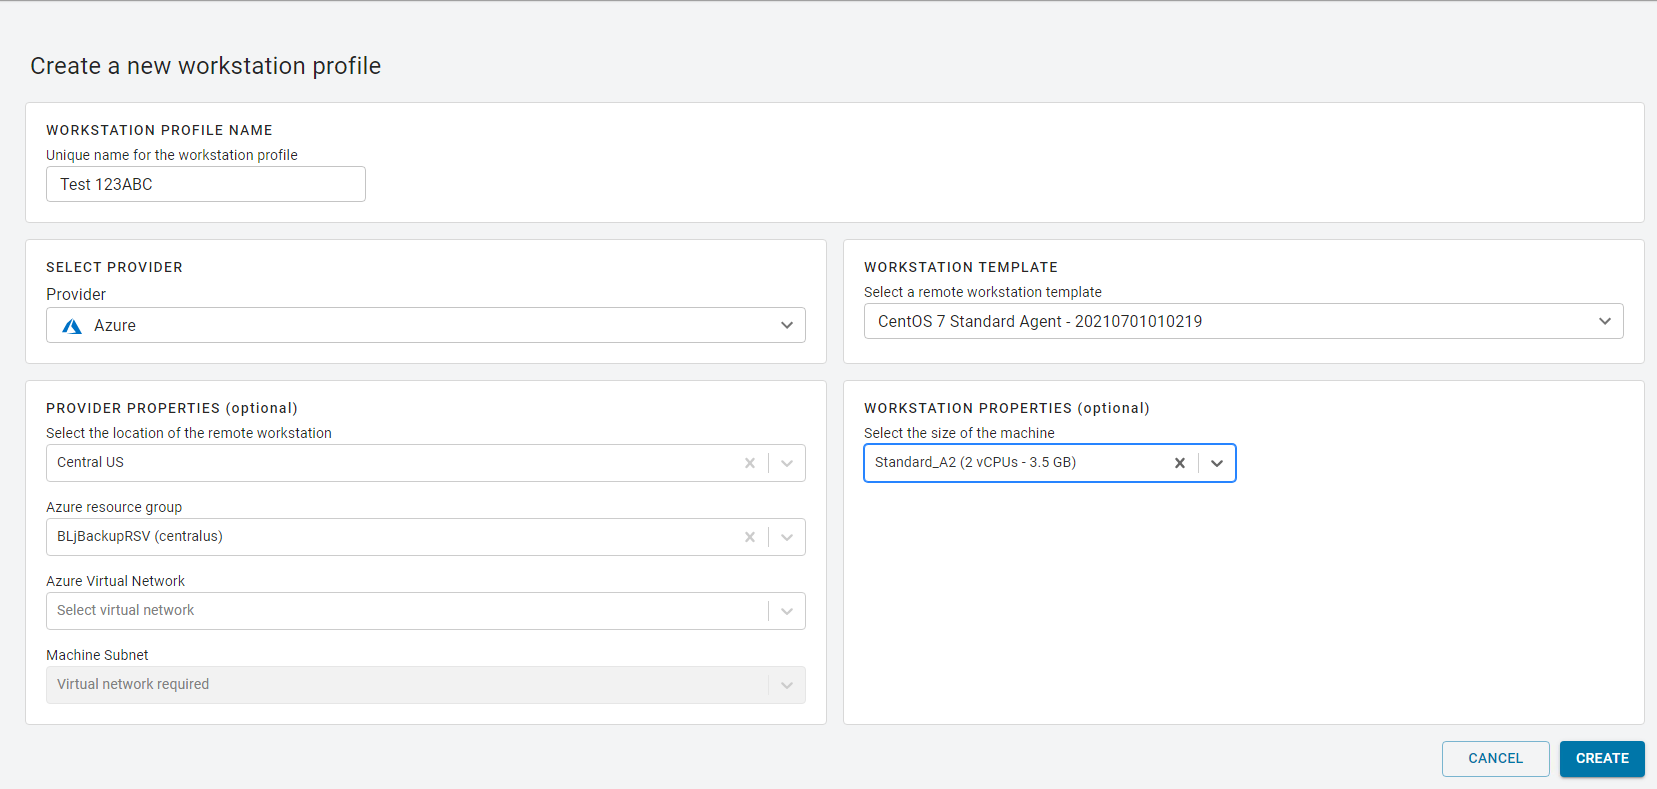
- Once you entered all the required information, click CREATE.
The workstation profile you created will now be visible in the list of workstation profiles. You can delete any workstation profiles from this view.

Deploying a Remote Workstation with a Workstation Profile
Once you have created a workstation profile you can use it to populate the Create Workstation page. The following steps outline how to use the workstation profile when creating a new remote workstation:
- Click Workstations from the Admin Console sidebar.
- Click Create new remote workstation from the add remote workstation icon.
- Select the cloud provider you wish to use. This must be the same cloud provider you entered when you created the workstation profile.
- From the WORKSTATION PROFILE tab select the workstation profile you created to auto-fill the page with the provider properties, workstation template and workstation properties.
- If you chose Azure as your cloud provider, enter the remote workstation username and password.
- Enter the Active Directory account and password. The Active Directory information is only used during provisioning to join the remote workstation to the domain. This information will not be saved by the CAS Manager or Admin Console.
- Click DEPLOY.
The remote workstation has now been created and deployed and will be visible on the Workstations page. Using a specific workstation profile ensures that the identical information is used for all remote workstations created.
Workstation profile checkbox
If you deploy a remote workstation and do not use a workstation profile, you will be prompted by a message asking if you want to use this configuration as a workstation profile. You can select to not show this message again, but then you will not be prompted to create a workstation profile for future deployments.