Skip to content

Active Directory Authentication

PCoIP Management Console Active Directory (AD) authentication uses Lightweight Directory Access Protocol (LDAP) or Secure Lightweight Directory Access Protocol (LDAPS) with Active Directory servers for user authentication. LDAPS is recommended to give you a more secure environment, through the use of an Active Directory Certificate, which should be available before activating the Active Directory configuration.

Caution: LDAP or LDAPS

LDAPS is the secure version of LDAP and is recommended for production environments and requires installation of the Active Directory Certificate.

AD Configuration Tab
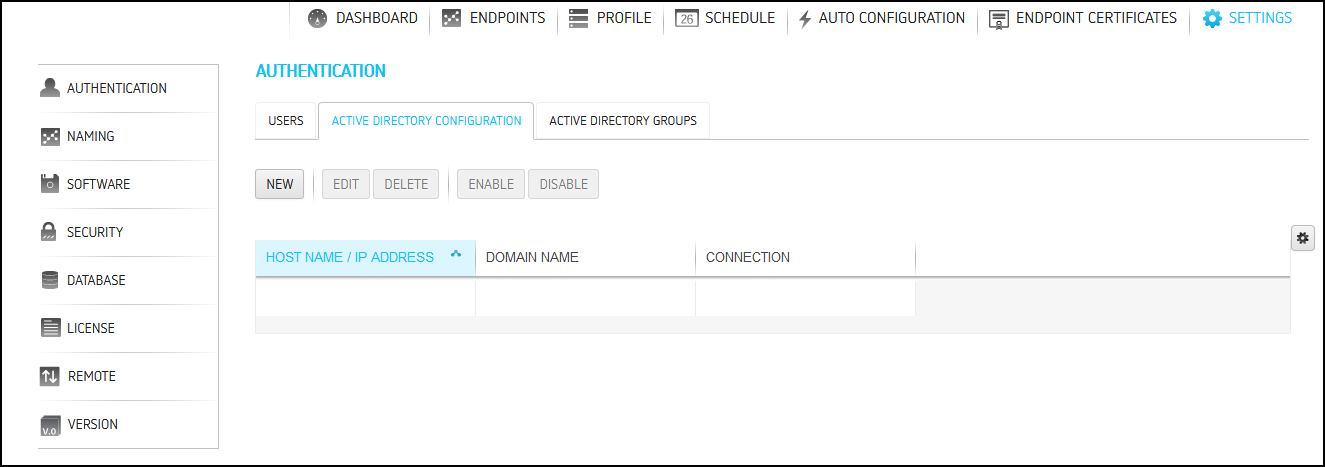
Active Directory Configuration tab

Important Notes

This release of Active Directory in PCoIP Management Console has important limitations which need to be considered before using this feature in your deployment.

  • The MC's AD authentication only works for the same domain as the Domain Controller you have configured in the Management Console's SETTINGS > AUTHENTICATION > ACTIVE DIRECTORY CONFIGURATION tab

    Eg. FQDN for the domain controller is dc_hostname.corp.abc.com

    If you open Active Directory Users and Computers and go to your user account properties and select the Account tab and if:

    • @abc.com is listed, your login will fail as we don't support domain alias's

    • _@corp.abc.com is listed, your login will work. If it doesn't work there is some other issue.

  • Only supports on-premises Active Directory

  • Only supports one active domain at a time

  • Does not support domain aliases

  • Active Directory users must be assigned to a Security Group in the Users container, this can be an existing group such as Domain Admins or a group you create in the Users container.

  • Only supports uploading one Active Directory Certificate to the certificate store

    Upload the Root Certificate

    Upload the Root Certificate from the CA that issued the Domain Controller's certificate

  • Does not support nesting groups

  • Does not support trust relationships

  • Installing an Active Directory Certificate

    LDAPS requires a Base64 encoded certificate in .pem or .cer format to be uploaded to the certificate store. The LDAPS certificate should be downloaded from the same Active Directory that will be used for authentication. This can be done before or after enabling Active Directory.

    To install your Active Directory Certificate:

    1. Browse to SETTINGS > SECURITY and select the ADD CERTIFICATES tab.

    2. Select the UPLOAD CERTIFICATE button.

    3. Use the SELECT CERTIFICATE button and browse to where your Active Directory Certificate is located, highlight it and select the Open button.

    4. Select the UPLOAD button and then OK in the Active Directory Certificate Details dialog.

    5. Access the PCoIP Management Console virtual machine console, (see Accessing the PCoIP Management Console Virtual Machine Console) and run the import script located in /opt/teradici/scripts directory.

    To run the script ensure you include the full path to the script and that you type the name of the correct AD uploaded certificate.

    sudo /opt/teradici/scripts/import_ldaps_certificate.sh /opt/teradici/console/certs/adcerts/< certificate_name >

    Tip: Dialog Information

    After selecting the certificate the dialog contains additional information that is useful for managing your certificate from the virtual machine console.

    Viewing your Active Directory Certificate

    You can view the Active Directory Certificate by viewing the ACTIVE DIRECTORY CERTIFICATES tab located on the SECURITY settings page.

    AD Add Certs
    Active Directory Certificates tab

    Removing your Active Directory Certificate

    Removing your Active Directory Certificate requires you to login to the PCoIP Management Console virtual machine console, see Accessing the PCoIP Management Console Virtual Machine Console to run the removal script located in the /opt/teradici/scripts directory.

    Once logged in to the virtual machine console, browse to the opt/teradici/scripts directory and enter ./remove_ldaps_certificate.sh.

    Creating and Enabling Active Directory Configuration

    To create and enable an Active Directory configuration:

    1. Log in to PCoIP Management Console

    2. Browse to SETTINGS > AUTHENTICATION and select the ACTIVE DIRECTORY CONFIGURATION tab.

    3. Select the NEW button.

    4. Select your preferred protocol LDAP or LDAPS.

    5. Enter the Host Name / IP Address of your Active Directory Server and any specific port that you want to use.

    6. Enter the Domain Name that the Active Directory Server manages.

    7. Save your configuration.

    8. Return to the ACTIVE DIRECTORY CONFIGURATION tab and Click Enable to enable the connection.
      (The PCoIP Management Console will reboot.)

    9. Login to MC and browse to SETTINGS > AUTHENTICATION and select the ACTIVE DIRECTORY CONFIGURATION tab and enable your desired Active Directory configuration.

    Tip: If PCoIP Management Console does not restart

    If your PCoIP Management Console does not restart using the PCoIP Management Console GUI, you can issue the following command from the PCoIP Management Console virtual machine console: sudo service mcconsole restart

    Adding Active Directory Groups

    Adding Active Directory groups require that you have already enabled and configured Active Directory on the PCoIP Management Console. When adding Active Directory groups to PCoIP Management Console, ensure the added group has the identical name as the group in Active Directory and the Managing Users has been assigned to the group for PCoIP Management Console use.

    Active Directory Users

    All Active Directory users have a default timezone of UTC which can be modified by a Management Console System Administrator after the user has logged in the first time.

    AD Group
    Active Directory Group tab

    To add or edit an active directory group:

    1. Browse to SETTINGS > AUTHENTICATION and select the ACTIVE DIRECTORY GROUPS tab.

    2. Select the ADD button.

    3. Enter the required information.

    4. Select the SAVE button.